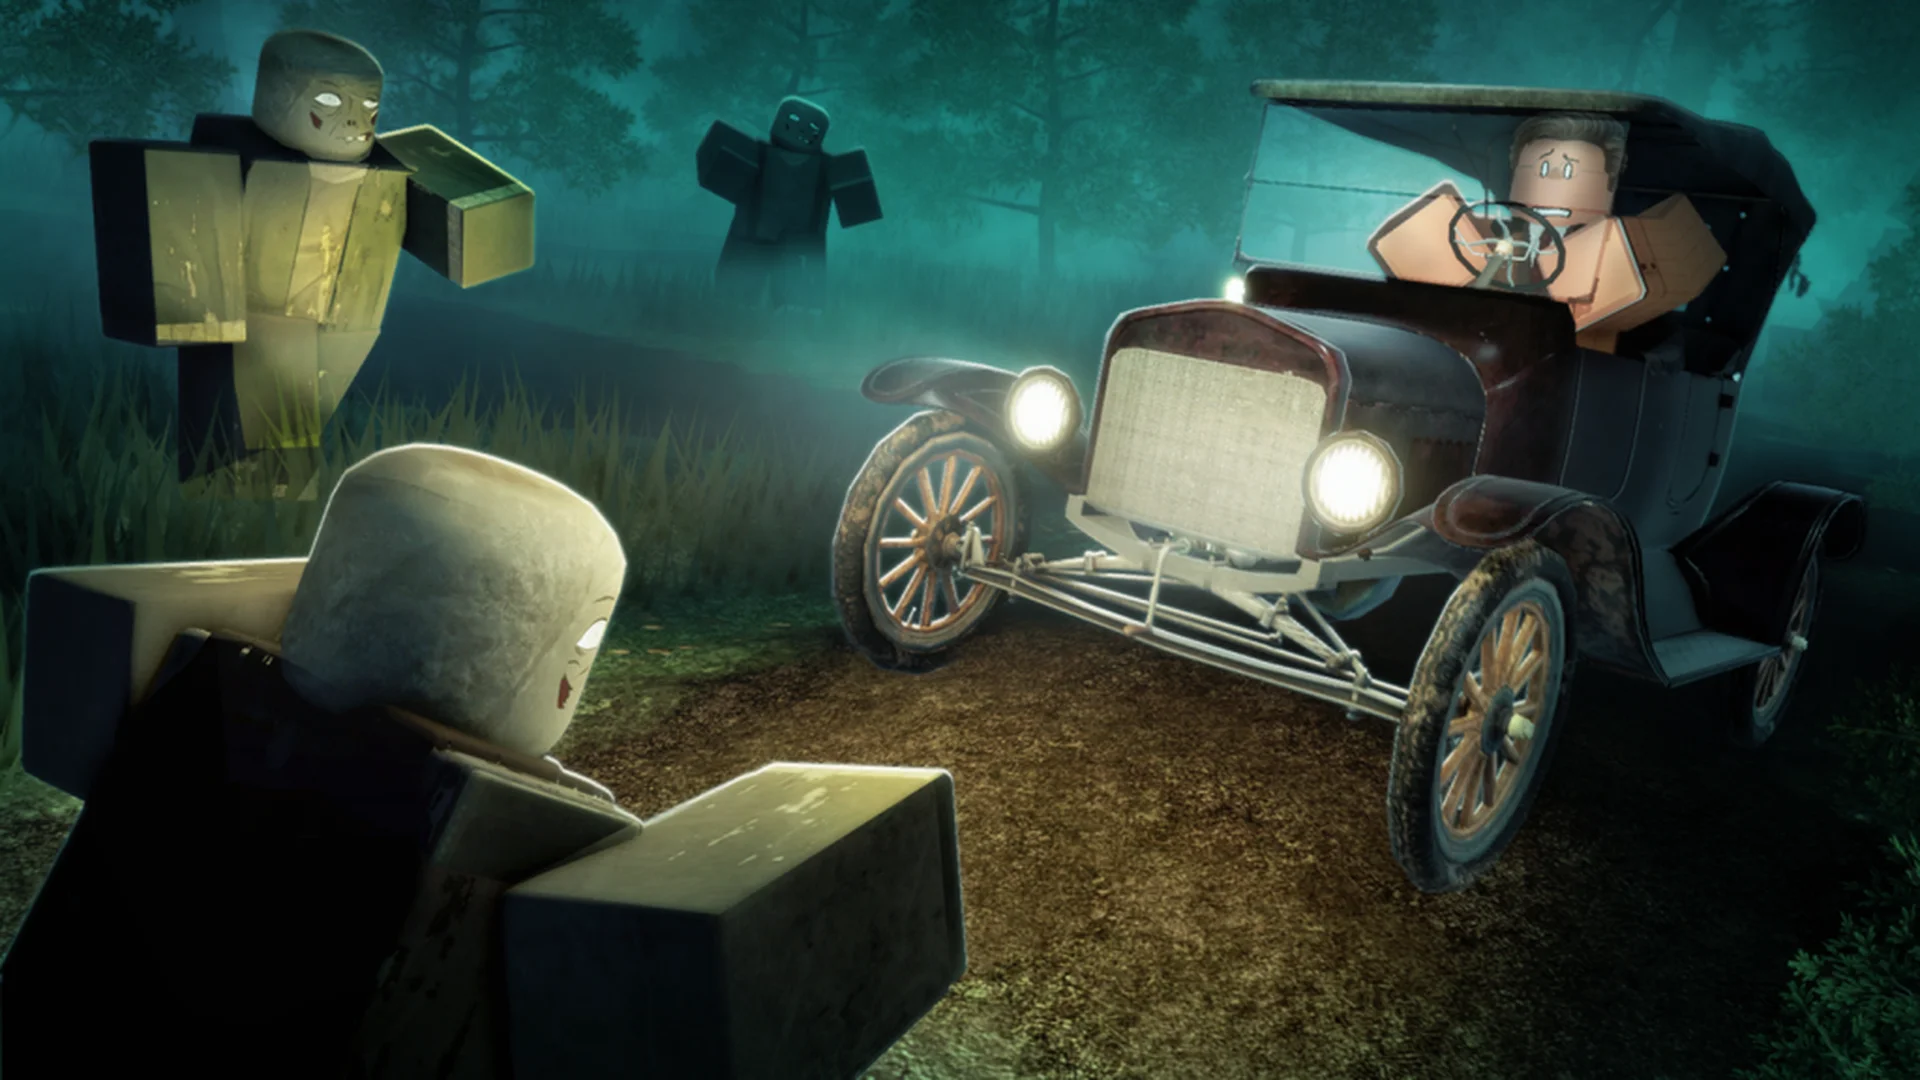
- Road to Ruin enemy guide: Identify threat categories before committing your team to combat.
- Best priority: Remove the enemy creating the fastest path to a downed teammate.
- Resource rule: Preserve medical supplies and ammunition for high-pressure encounters.
- Safe retreat: Keep the vehicle, route, and regroup point visible before fighting.
- Alpha note: Enemy behavior and encounter details may change with future 2026 updates.
Road to Ruin Enemy Guide: Threat Basics
The current Alpha structure presents enemies as part of a larger survival loop involving vehicles, scavenging, route planning, and team movement. This Road to Ruin enemy guide focuses on the practical threat categories currently supported by the available game information: standard hostile encounters, special enemy groups, boss-level encounters, and environmental threats.
Because Road to Ruin is still in Alpha, avoid treating broad encounter profiles as permanent enemy names or final statistics. Use them as combat planning tools. The most reliable approach is to recognize pressure levels, protect the team’s escape route, and spend resources only when an encounter blocks progress.
| Threat category | Danger rating | Main problem | Recommended response |
|---|---|---|---|
| Standard hostile encounter | Moderate | Close-range pressure and team separation | Focus the nearest threat and maintain retreat space |
| Special enemy group | High | Multiple attack angles and sustained pressure | Hold a defensible position and regroup before looting |
| Boss-level encounter | Very high | Heavy damage and punishing attack windows | Prepare supplies, assign roles, and preserve an escape route |
| Environmental threat | Variable | Limited visibility, hazards, and restricted movement | Scout slowly and retreat before the route becomes unsafe |
Do not rely on fixed enemy health, spawn locations, weaknesses, or boss patterns unless a later 2026 update confirms them. Recheck the encounter after major Alpha patches.
How to Read an Encounter
Before opening fire or entering a dangerous location, check four conditions:
- Distance: Can the team maintain enough space to avoid being surrounded?
- Visibility: Can players see the next route section and identify incoming pressure?
- Resources: Are ammunition, health, food, fuel, and medical supplies sufficient for the next objective?
- Exit plan: Can everyone return to the vehicle or another safe regroup point?
A fight becomes dangerous when several of these conditions fail at once. For example, a moderate encounter can become a team emergency if one player chases an enemy away from the group while another player is searching for loot.
The Road to Ruin Roblox listing is the best starting point for checking the current experience and its Alpha status. Use the Road to Ruin experience information for the broader survival, vehicle, scavenging, and enemy-focused context.
Enemy Rankings and Counter Strategies
Enemy difficulty is determined by more than damage. A threat that splits the party, blocks a narrow route, or forces the team to spend medical supplies can be more dangerous than a stronger target in an open area.
Use the following ranking as a tactical guide rather than a permanent numerical tier list.
S Tier: Boss-Level
Major objective threats deserve the highest preparation priority. Confirm health, ammunition, support roles, and escape space before activation.
A Tier: Special Groups
Coordinated groups can overwhelm separated players. Control the battlefield, focus one high-pressure target, and avoid unnecessary looting.
B Tier: Environmental Threats
Hazards become more dangerous when visibility and movement are restricted. Scout the next section before committing the full team.
C Tier: Standard Encounters
These are manageable when the team stays together, protects its retreat path, and avoids chasing enemies away from the route.
| Rank | Encounter | What makes it dangerous | Counter priority |
|---|---|---|---|
| S | Boss-level encounter | High pressure during a major objective | Preparation, spacing, role assignment |
| A | Special enemy group | Multiple directions and sustained attacks | Defensible position, focused damage |
| B | Environmental threat | Hazards combined with restricted movement | Scouting, slower formation, early retreat |
| C | Standard hostile encounter | Close-range pressure and poor spacing | Team focus, distance, clear retreat |
Standard Hostile Encounters
Standard threats are most manageable when players maintain supporting distance. Do not allow one teammate to pull enemies far from the group. The combat player should identify the nearest threat, while the route lead watches for additional pressure.
Recommended actions:
- Keep the vehicle or planned route behind the team.
- Focus on threats that can reach vulnerable players first.
- Avoid spending rare ammunition on targets that can be bypassed.
- Stop looting if the encounter begins to spread the party apart.
Special Enemy Groups
Special groups create risk through coordination and pressure from more than one direction. The safest response is to reduce the number of active attack angles. Use terrain, narrow entrances, defensible positions, or the vehicle area when appropriate.
The group should not rush into a secondary search area immediately after winning the first exchange. First, check health, ammunition, teammate positions, and the next route segment. A successful fight followed by careless looting can still end a run.
Boss-Level Encounters
Boss-level encounters should be treated as objective events, not ordinary road interruptions. Prepare before triggering the encounter:
- Assign one player to maintain pressure.
- Keep another player responsible for support and recovery.
- Reserve enough ammunition for later phases.
- Leave room for movement rather than standing in the open.
- Decide where the team will retreat if the fight becomes unfavorable.
Do not assume that every boss must be defeated immediately. If the objective allows repositioning or retreat, preserving the team may be more valuable than forcing a low-resource engagement.
Environmental Threats
Environmental threats are linked to hazardous road sections, narrow passages, restricted movement, or limited visibility. They punish speed and poor formation more than raw damage output.
Move as a compact group and let the most observant player scout the next section. Keep the support runner away from the first point of contact so they can help a separated teammate or carry essential supplies back toward the vehicle.
When an encounter starts to damage your formation, stop advancing. Regroup first, then decide whether the objective still justifies the fight.
Step-by-Step Enemy Encounter Plan
The safest combat routine begins before an enemy appears. Follow this sequence whenever the team approaches a risky road section, scavenging area, or major objective.
Mark the Route and Retreat Point
Before entering the area, identify the vehicle, a defensible position, or the route section where the team can regroup. Do not begin a fight without knowing how players will withdraw.
Assign Simple Combat Roles
Choose a route lead, combat guard, scavenger, and support runner when the team has four players. Smaller groups can combine roles, but everyone should know who watches movement and who carries shared supplies.
Identify the Highest Immediate Threat
Focus on the enemy or hazard most likely to reach a vulnerable teammate, block the exit, or split the formation. Do not spread damage across several targets without a tactical reason.
Control the Fight’s Resource Cost
Use reliable weapons against confirmed threats and avoid unnecessary ammunition expenditure. Medical supplies should be reserved for serious injuries or situations where a weakened player would endanger the entire team.
Confirm the Area Before Advancing
After the immediate danger ends, count the team, check health and supplies, and verify the next route. Only then should players resume scavenging or activate the next objective.
| Phase | Team question | Correct decision |
|---|---|---|
| Before contact | Where is the retreat point? | Mark the vehicle or defensible position |
| First pressure | Which threat can reach teammates fastest? | Focus that threat first |
| Mid-fight | Is the formation still together? | Stop advancing if players become split |
| After contact | Are supplies and health stable? | Regroup before searching or moving |
| Before objective | Can the team survive another pressure spike? | Prepare or delay the activation |
A disciplined retreat is a successful combat decision when the team protects its supplies, objective items, and ability to continue the journey.
When to Retreat
Retreat when one or more of these conditions appear:
- A teammate is isolated from the formation.
- The route behind the team is no longer clear.
- Ammunition is being spent faster than expected.
- Medical supplies are needed before the next objective.
- The encounter is pulling players away from the vehicle.
- The group has already secured the important loot or objective item.
A retreat should be announced clearly. Short callouts such as “back to vehicle,” “hold position,” or “stop looting” are more useful than long explanations during combat.
Co-op Loadouts and Enemy Preparation
Road to Ruin rewards shared preparation rather than identical player builds. The current Alpha guidance supports practical roles instead of requiring a fixed class system. Build the team around route safety, resource control, combat response, and recovery.
| Role | Primary responsibility | Priority supplies | Best behavior |
|---|---|---|---|
| Survival lead | Route control and movement decisions | Food, fuel, navigation resources | Calls advances and retreats |
| Combat guard | Threat response and teammate protection | Weapon, ammunition, medical backup | Stays near vulnerable players |
| Scavenger | Loot collection and inventory efficiency | Storage space, utility items | Searches quickly and returns to the vehicle |
| Support runner | Recovery and regrouping | Medical supplies, shared resources | Tracks separated teammates and redistributes items |
Open Road Formation
Keep the route lead forward, the combat guard near the most vulnerable player, and the support runner close enough to respond without entering first contact.
Scavenging Formation
Search in a short radius around the vehicle or regroup point. Leave low-value duplicates behind when storage space becomes limited.
Objective Formation
Confirm supplies and escape space before activation. Keep objective-linked items protected and avoid splitting the team during the final phase.
Resource Priorities During Enemy Encounters
| Resource | Priority | Use guidance |
|---|---|---|
| Medical supplies | Very high | Save for serious injuries and dangerous transitions |
| Ammunition | High | Spend on confirmed threats and priority targets |
| Fuel | High when travel depends on it | Confirm the next destination before using it |
| Food | High on long routes | Use when the team gains meaningful recovery |
| Weapons | High for combat roles | Match equipment to the team’s actual threat plan |
| Miscellaneous resources | Medium | Keep items linked to active objectives |
The most important rule is to treat essential supplies as team property. A player carrying all medical items or ammunition creates a fragile setup because one defeat can remove the group’s entire reserve.
Enemy Preparation Checklist:
- Confirm the vehicle or retreat point before entering danger
- Assign a route lead, combat guard, scavenger, and support role
- Check health, ammunition, medical supplies, fuel, and inventory space
- Agree on a short retreat callout before combat begins
- Regroup and count the team after every major encounter
A balanced team does not require four separate classes. It requires clear responsibility for movement, combat, supplies, and recovery.
Road to Ruin Enemy Guide FAQ
Q: What is the hardest enemy category in Road to Ruin?
Boss-level encounters are the highest-risk category because they combine major objectives with sustained pressure and limited room for mistakes. Prepare health, ammunition, role assignments, and an escape route before triggering one.
Q: Should the team fight every enemy it sees?
No. Fight when the threat blocks progress or places the team at immediate risk. Bypassing or retreating from a low-value encounter can preserve ammunition, medical supplies, and route progress.
Q: What should players do when an enemy group splits the team?
Stop advancing and call for a regroup. The support runner should help the isolated player only when the route is reasonably safe, while the rest of the team holds a defensible position.
Q: Are the enemy weaknesses and spawn locations permanent?
Road to Ruin is in Alpha, so enemy behavior, locations, and encounter rules may change during 2026 updates. Treat broad counter strategies as practical guidance and verify new patch information before relying on fixed details.
The strongest enemy strategy is consistent preparation: keep the group close, protect the route back to the vehicle, and spend resources according to the danger of the next objective. As the Alpha version develops, update encounter profiles when confirmed information changes.
Do not confuse a successful enemy defeat with a successful run. The real objective is to preserve the team, supplies, and route progress needed to continue the journey.